Oracle Cloud
Genymotion Device image is no longer available for Oracle Cloud. This page is deprecated and will be removed in the future
Genymotion Device image (PaaS) is now available on Oracle Cloud Infrastructure (OCI). It runs on Ampere Computing platform, based on Arm which offers native arm64/aarch64 support.
Launching a Genymotion instance is very similar to launching a Linux instance .
First steps
A Public IP is required to access your instance from the Web. If this does not comply to your requirements, please refer to Access from a NAT network or within the private network.
-
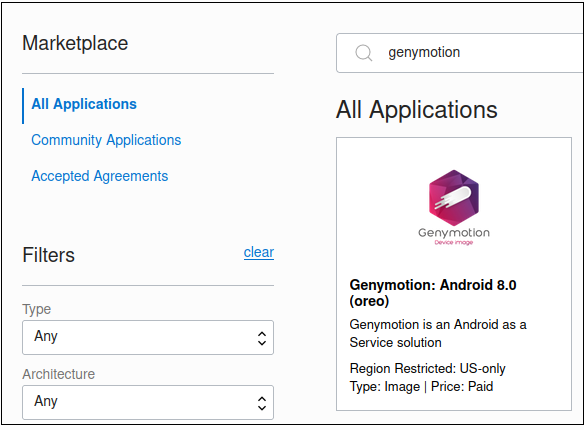
Go to Oracle Cloud Marketplace and search for "Genymotion":
-
Select the version of Android OS for your Genymotion instance. You can run Genymotion virtual devices based on Oreo (Android 8.0) - more versions will be added in the future.
-
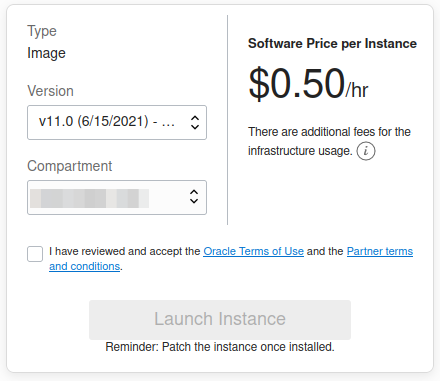
Select the Genymotion emulator version and compartment of the instance:
-
Check I have reviewed and accept the Oracle Terms of Use and the Partner terms and conditions. and click Launch Instance
-
Setup your instance parameters:
Name-
Set a name for your instance. The default name is
instance-YYYYMMDD-HHMMbut we recommend using an explicit name. Create in compartment-
Select the compartment where you wish to create the instance.
Placement-
Select the availability domain for your instance.
Image and Shape-
The Image is the one you selected on the Marketplace - you can click Return to marketplace to change it. The default Shape is
VM.Standard.A1.Flex.
Add more resources
Genymotion Device image (PaaS) runs on Ampere Computing platform, which corresponds to the compute shape
VM.Standard.A1.Flexwith 1 core OCPU, 6 GB memory and 1 Gbps network bandwidth.
If you wish to add more OCPU or RAM, click Change Shape and change the settings to fit your needs: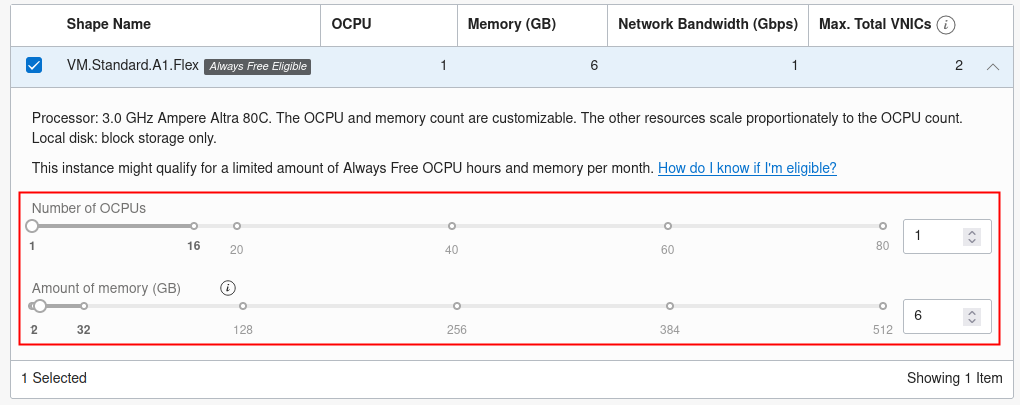
Warning
Make sure to select an Ampere ARM-based Virtual Machine - any other virtual machine type will not work with Genymotion current image.
-
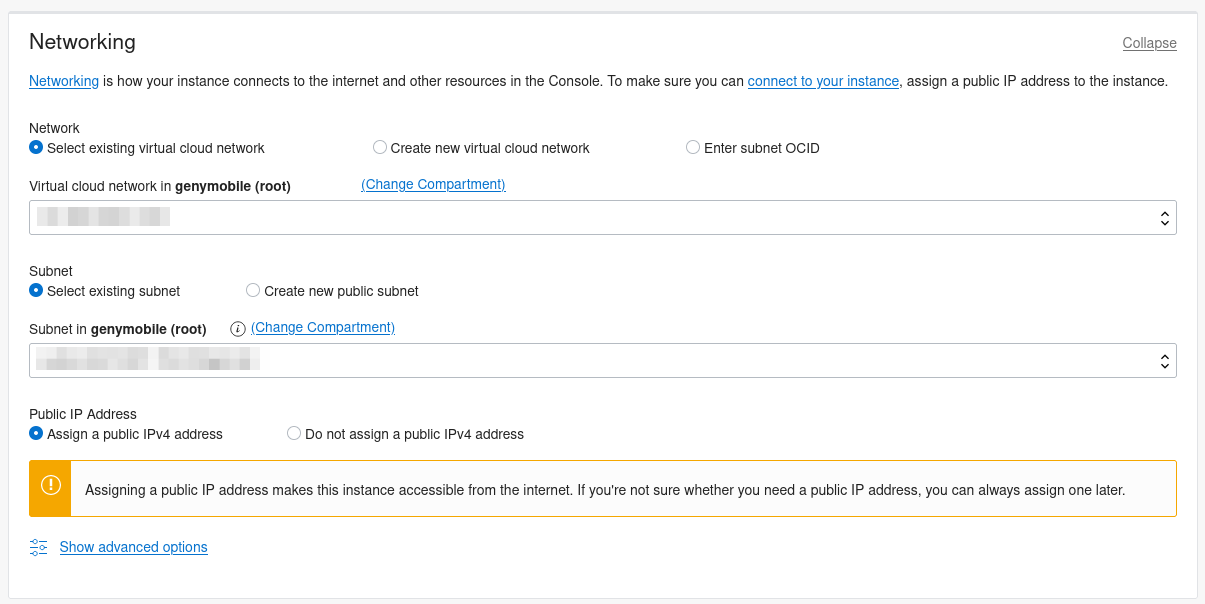
Setup your instance network parameters:
Network-
Select or create virtual cloud network (VCN) for your instance. You can also add your instance to an existing OCID subnet by choosing Enter a subnet OCID.
Subnetwork-
Select or create a subnet for your instance.
Public IP Address-
Assign an IPv4 public address to your instance.
A Public IP is required to access your instance from the Web. If you need to access the instance from a secured network, or if assigning a public IP does not meet your requirements, please refer to Access an instance within the VCN or from a NAT network.
-
Click Show advanced option, check Use network security groups to control traffic and select a Network Security Groups from the drop-down list in order to secure access to the instance:

-
Add an SSH key (optional):
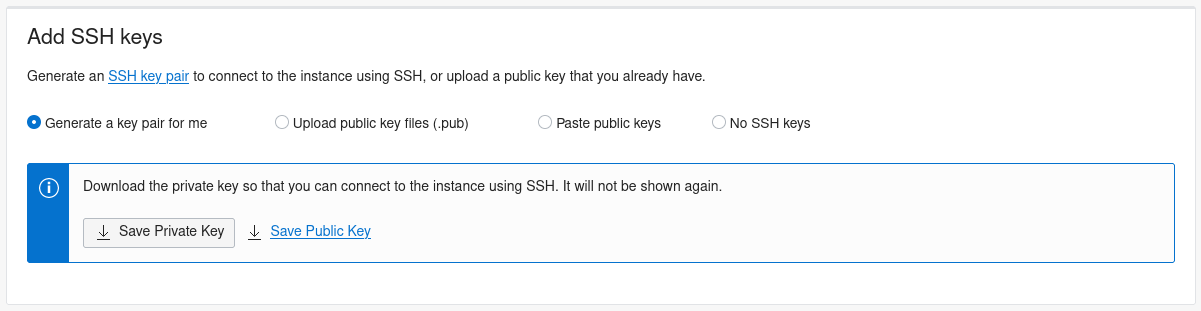
Adding a SSH key is necessary if you need to access your instance from SSH.
You can either generate an SSH key pair , or upload a public key that you already have.
-
Click Create to create and launch the instance.
The Boot volume options are not available with Genymotion Device image - you can ignore them.
Network security
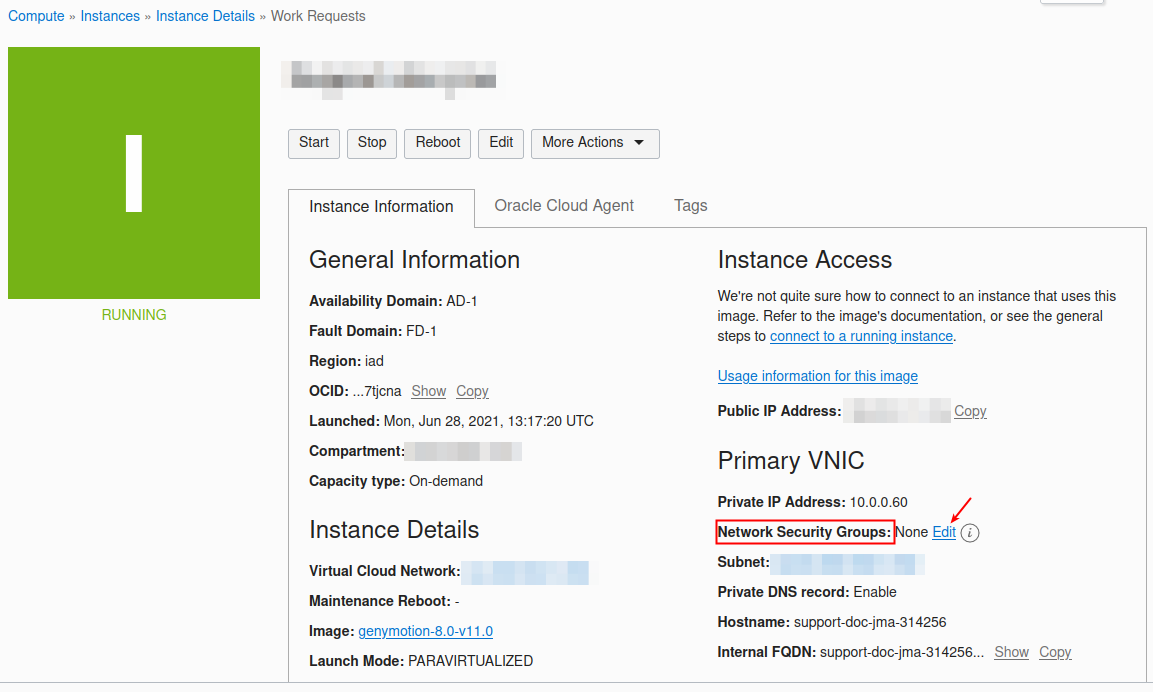
You need to attach the instance to one or more Network Security Groups (NSG) in order to manage and secure access to your instance.
For recommended security settings, please refer to Requirements - Networks security.
You can attach your instance to Network Security Groups when creating an instance or from the instance dashboard:
Otherwise, you can follow these steps:
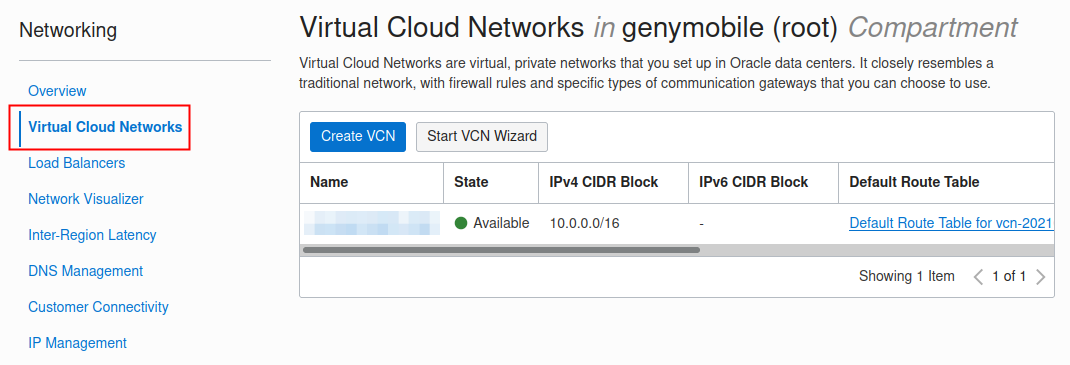
- Go to Networking > Virtual Cloud Networks
-
Click on your instance Virtual Cloud Network (VCN) or, if you haven't created any Genymotion instances yet, the VCN you wish to use with your instances. You can also create a new VCN by clicking Create VCN:
-
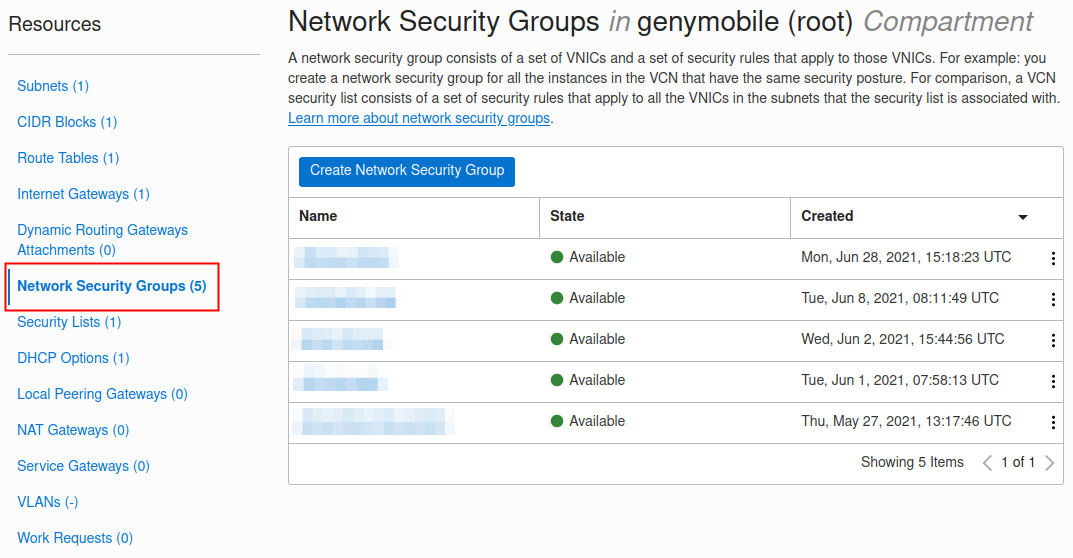
In the Resources section, select Network Security Groups
-
Select an existing Network Security Group, or create a new one by clicking Create a Network Security Group:
-
Add the appropriate rules (see Requirements)
Access an instance with a web browser
Please refer to Requirements for recommended browsers and network security settings.
A Public IP is required or the device display will remain black. If you need to access the instance from a secured network, or if assigning a public IP does not meet your requirements, please refer to Access an instance within the VCN or from a NAT network.
To access a virtual device web interface, you need to set a public IP to your virtual machine.
Once the initial setup is done, the instance is automatically starts. It can take up to 2 minutes before the instance can be accessed through the browser.
-
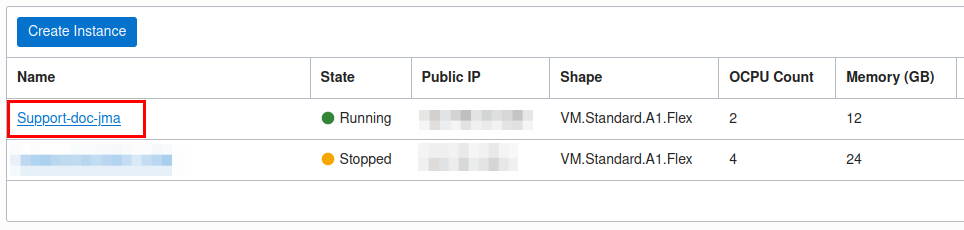
From the Compute > Instances dashboard, select the running instance(s):
-
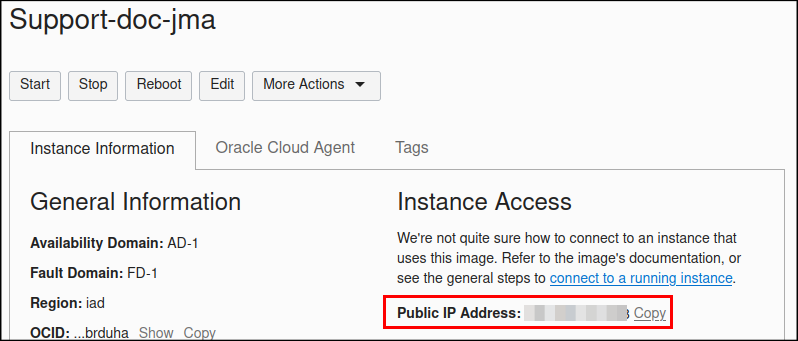
Copy the Public IP Address and paste it in a new window or tab:
-
A connection warning pops up:
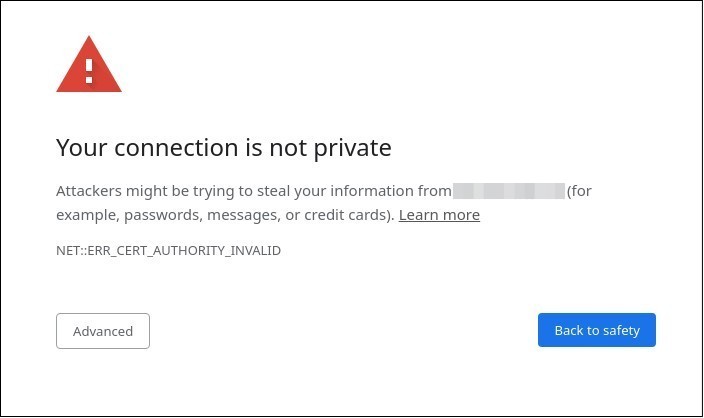
To remove this security warning permanently, you need to install a trusted certificate (SSL).
-
Ignore the warning and proceed. The default username is
genymotionand password is the name of your instance (for example,instance-20210623-1701).To change the default credentials, please refer to Change authentication.