Genymotion
This section introduces Genymotion Desktop user interface and actions you can perform from the different windows. It also lists the user interface keyboard shortcuts.
Genymotion Desktop settings can be reached by navigating to Settings:
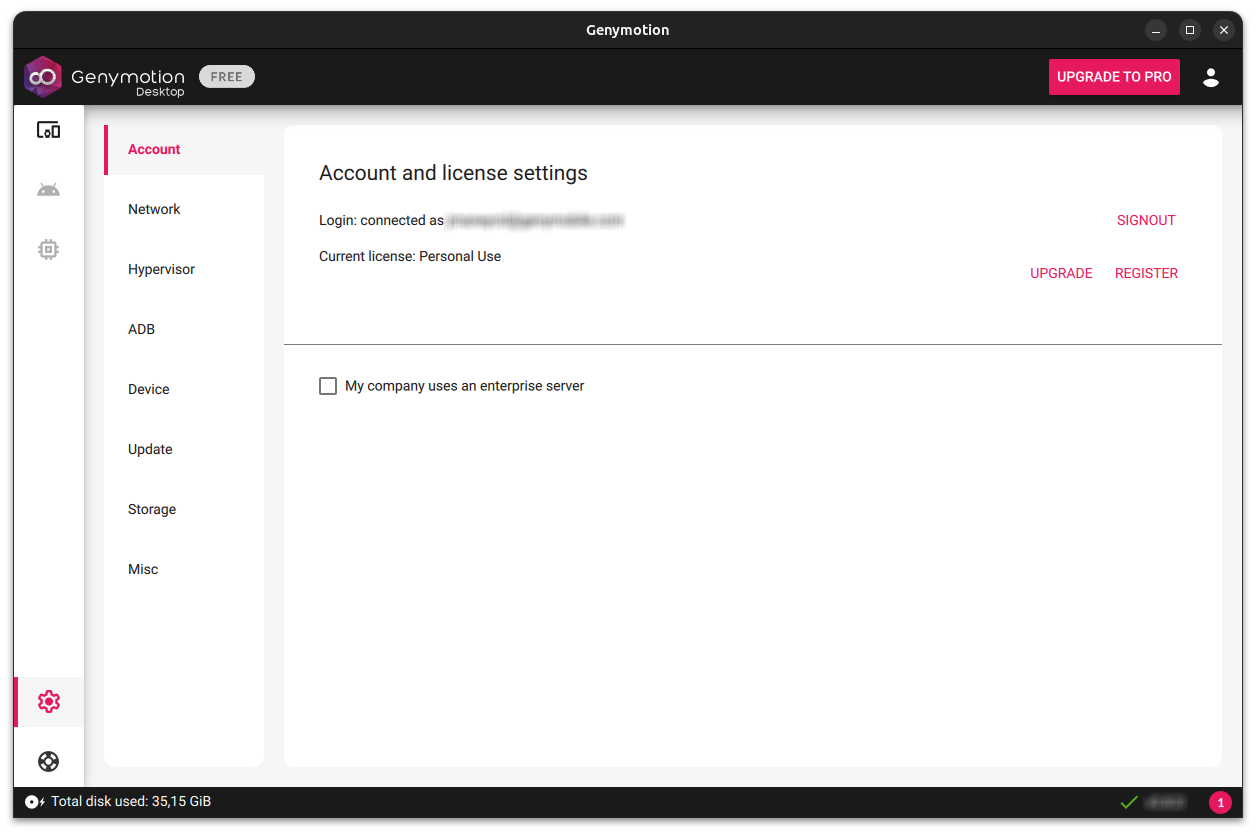
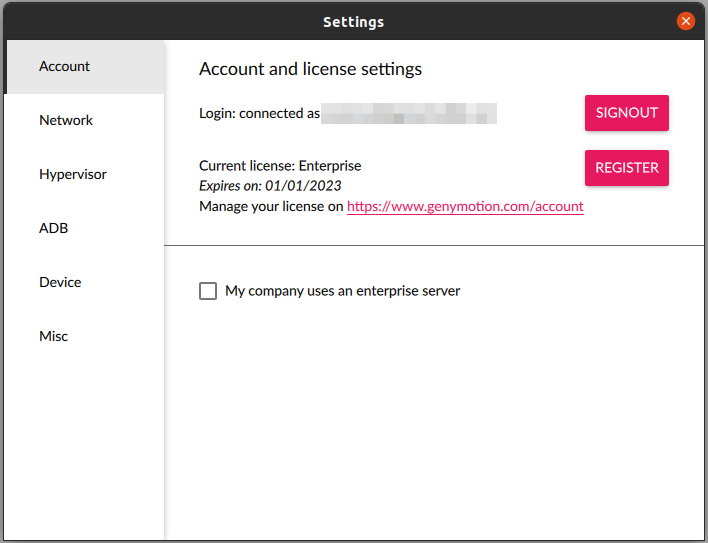
Account settings
In the Account tab, you can:
- Sign out
- Upgrade to Genymotion Desktop Pro
- Register a License
- Connect to a company license server
Network settings
This setting only allows Genymotion to connect to our servers through a proxy; it does not apply to the virtual devices. See How to connect a virtual device to a proxy for more details
In the Network tab, you can modify the network settings to set a HTTP proxy, if your host network is behind a proxy:
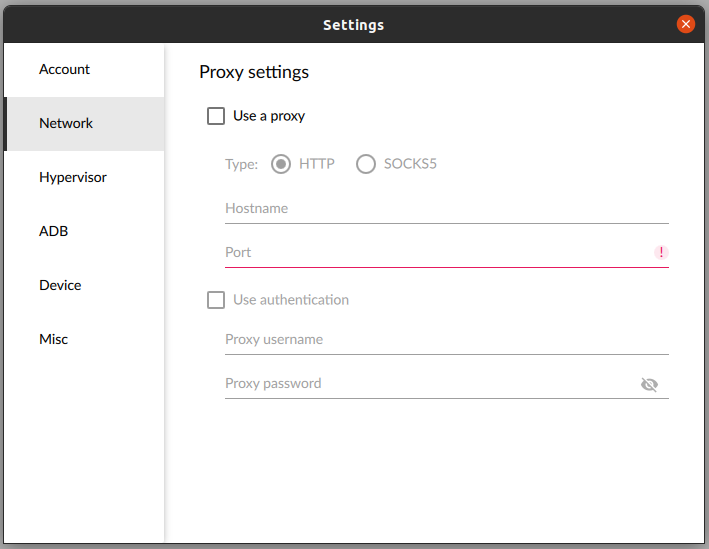
To define your proxy settings, check the corresponding boxes:
- Use HTTP Proxy: Enables Genymotion Desktop to use a proxy when connecting to Genymobile servers. Set your HTTP proxy address and port in the corresponding fields.
- Use authentication: Enables proxy authentication. Enter your proxy username and password in the corresponding fields.
Hypervisor settings
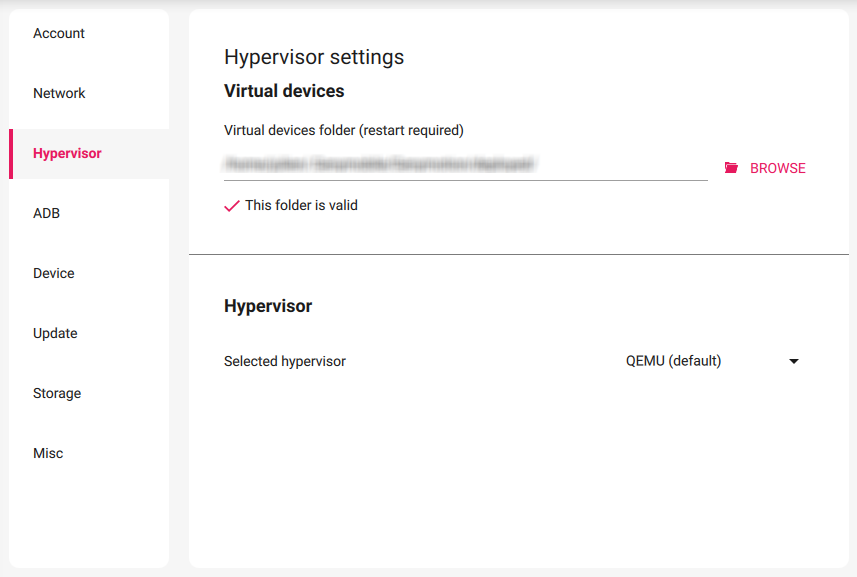
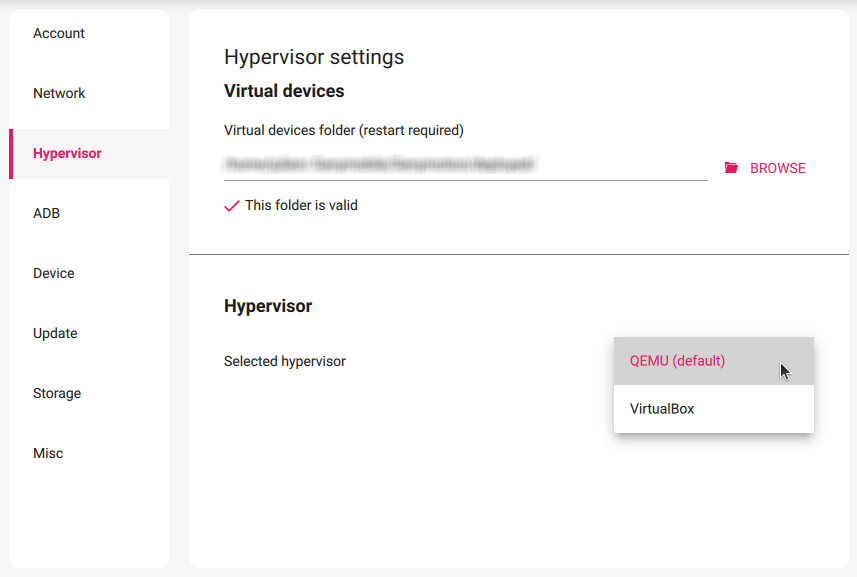
In the Hypervisor tab, you can:
- Switch between QEMU (default on Linux & macOS) and VirtualBox (default on Windows) hypervisor.
- Change where the virtual device images are stored.
Switch Hypervisor
To change the default hypervisor, use the drop-down box to select your preferred Hypervisor:
You will then be prompted to restart Genymotion to apply the change.
Virtual devices created with VirtualBox will disappear from Genymotion dashboard if the hypervisor is switched to QEMU, and vice versa.
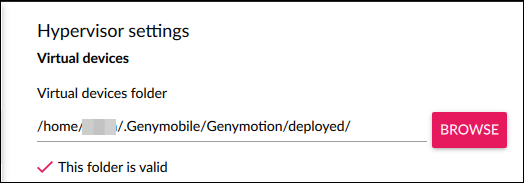
Change Virtual Devices Folder
It is not recommended to change this setting, unless you are familiar with VirtualBox and QEMU.
In the Virtual devices section, you can choose where the virtual devices images are stored:
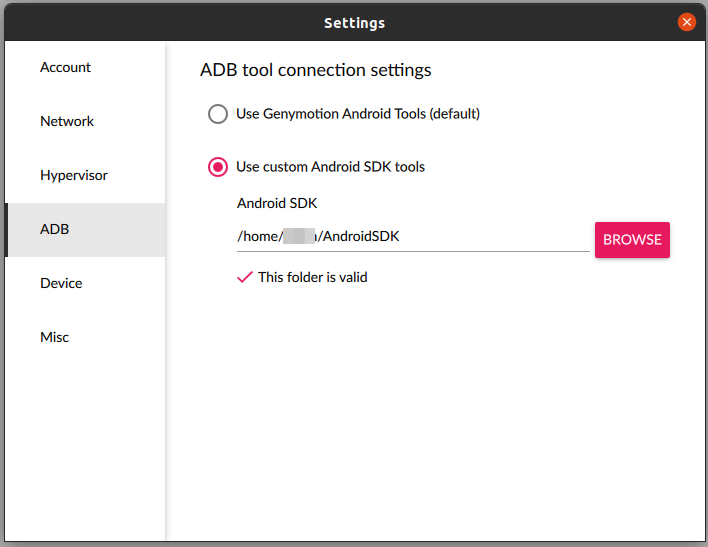
ADB settings
In the ADB tab, you can set which ADB tool Genymotion Desktop use:
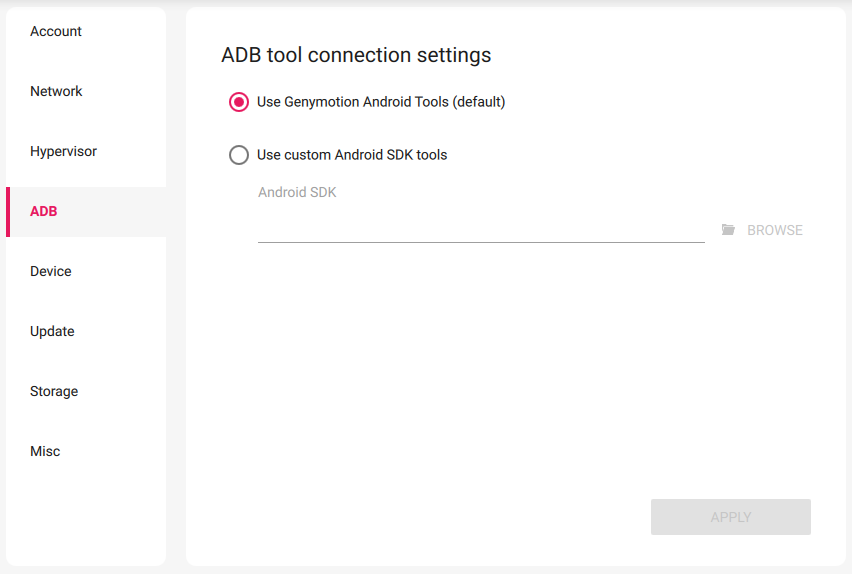
By default, Genymotion Desktop uses its own built-in Android tools, located in the following paths:
C:\Program Files\Genymobile\Genymotion\tools\
/Applications/Genymotion.app/Contents/MacOS/tools/
$HOME/genymotion/tools/
However, you may need to use specific Android tools from a third-party Android SDK. For example, if you use Android Studio with Genymotion, it is recommended to set Genymotion to use Android Studio's Android SDK tools instead of Genymotion built-in one.
To do so, follow these steps:
The easiest way to get the Android SDK tools is to install Android Studio . By default, Android Studio installs the SDK tools in the following folders:
%LOCALAPPDATA%\Android\Sdk
$HOME/Library/Android/sdk
$HOME/Android/Sdk
After installing Android Studio, open Genymotion and:
- Go to Settings > ADB
- Select Use custom Android SDK tools
- Click Browse to set the path to the Android SDK:
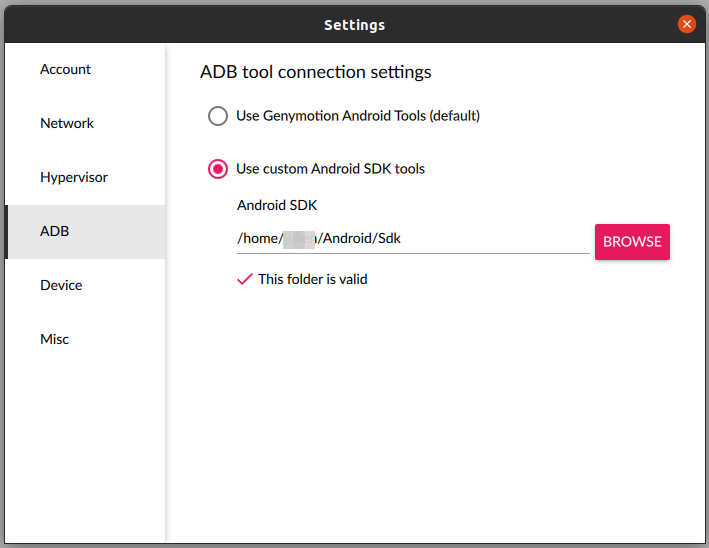
You must set the path to the SDK tools root, such as Android\SDK, not the platform-tool sub-folder. For example, %LocalAppData%\Android\Sdk is valid whereas %LocalAppData%\Android\Sdk\platform-tools is incorrect.
Android command-line tools require Java(TM) SE Runtime Environment.
If you don't wish to install Android Studio, you will need to use sdkmanager from the Android stand-alone command-line tools to install ADB:
We recommend using androidsdk from snap instead of sdkmanager on Ubuntu.
- Download Android Studio command-line tools from https://developer.android.com
- Extract the archive files in the folder of your choice and go to the
tools/bin/sub-folder. - In a terminal or command shell, use the following commands:
sdkmanager "platform-tools"
- Install
androidsdkfrom snap - In a terminal, run the following command:
androidsdk "platform-tools"
This will install the platform-tools in the current folder. You can use the --sdk_root={directory} option to install the tools in a different folder.
Then, in Genymotion:
- Go to Genymotion > Settings > ADB
- Select Use custom Android SDK tools
- Click Browse to set the path to the Android SDK:
You must set the path to the SDK tools root, not the platform-tool or build-tools sub-folders. For example, if you installed the tools in C:\adt-bundle, C:\adt-bundle\ is a valid whereas C:\adt-bundle\platform-tools is incorrect.
Device settings
In the Device tab, you can:
- Change the Clipboard sharing settings.
- Change the Screen capture folder.
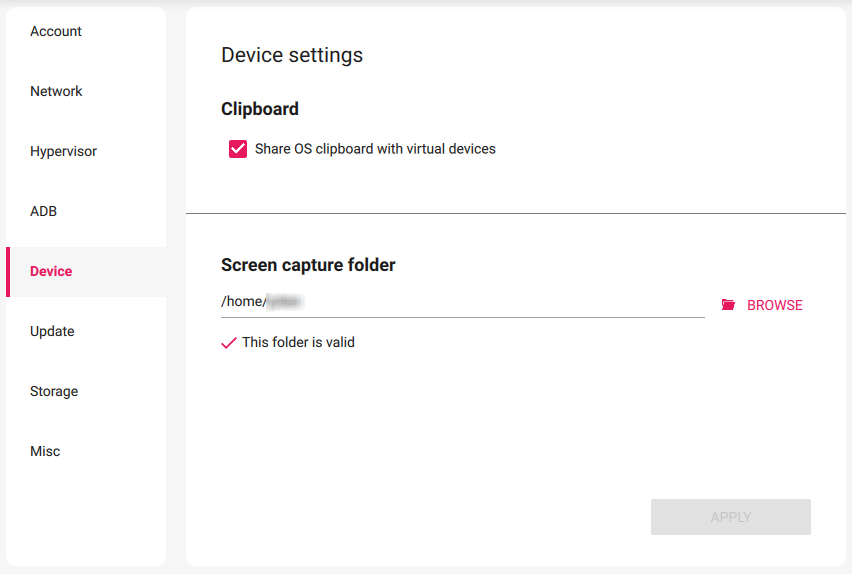
Clipboard sharing
Clipboard sharing between the OS and the VD is enabled by default, but it can be disabled in the Device section:

Screen capture folder
The folder where screen captures and screencasts are saved can be changed in the Device section. Default value is your home folder.
Update
The Update tab displays the release notes and information of your current and the latest version of Genymotion Desktop:
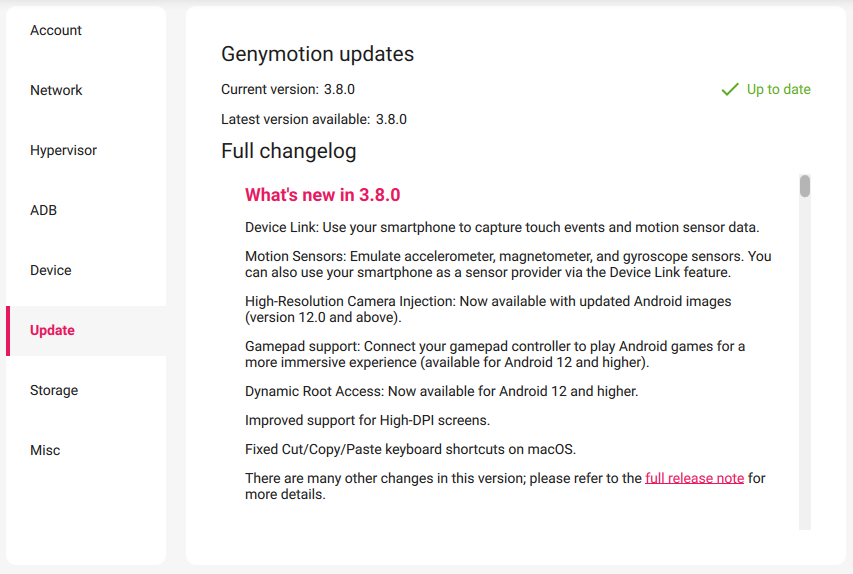
If a new version is available, you will be notified and prompted to update your copy of Genymotion.
Storage
The Storage tab displays your PC/Mac disk space used for Virtual Devices, Caches and Other (Media folder):
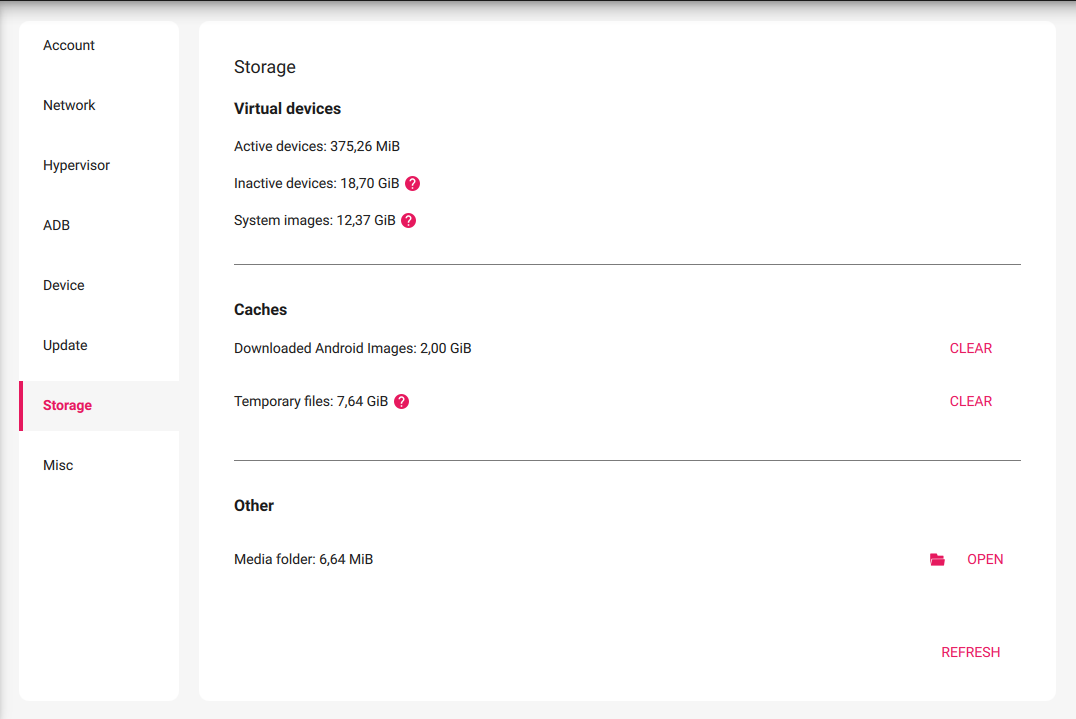
- Virtual devices: disk usage by active and inactive virtual devices, as well as system images.
- Caches: disk usage by cached Android images and temporary files. Click CLEAR to clear each cache.
- Other: disk usage by the Media folder. Click OPEN to open the Media folder.
The total disk used by Genymotion and all its components is displayed in the launcher footer.
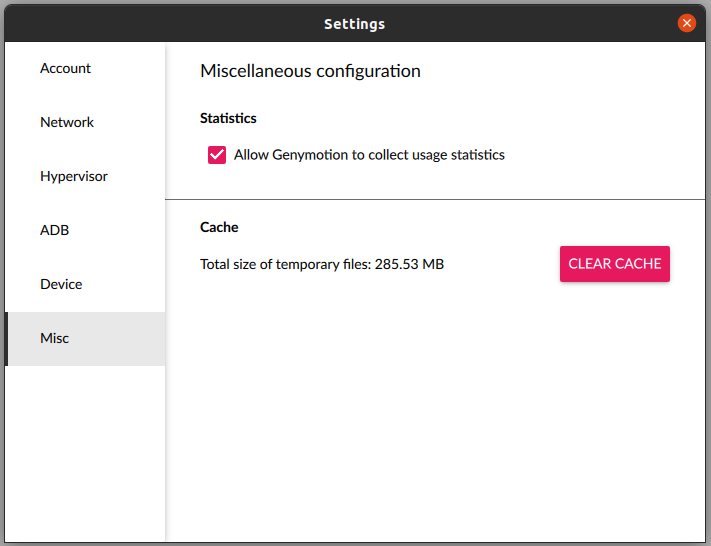
Misc
In the Misc tab, you can control whether Genymotion collects usage statistics or not:
Shortcuts
The table below lists global shortcuts that can be used in Genymotion Desktop:
| Action | Windows/Linux | macOS |
|---|---|---|
| Add a new virtual device | Ctrl+N | Cmd+N |
| Open Genymotion Desktop settings | Ctrl+, | Cmd+, |
| Open virtual device settings | Ctrl+I | Cmd+I |
| Delete virtual device | Del | Del or Fn+Backspace |
| Duplicate virtual device | Ctrl+D | Cmd+D |
| Generate virtual device log archive | Ctrl+K | Cmd+K |
| Quit Genymotion Desktop | Ctrl+Q | Cmd+Q |
Virtual Device shortcuts can be viewed and customized with the Settings widget.