Basic steps
To start using Genymotion Desktop and run your Android application in a virtual device, follow the steps below.
First run
-
Launch Genymotion Desktop:
Click
 from Windows Application menu or desktop.
Click
from the Applications directory.Click
Genymotion from your distribution Application Launcher, or in a terminal:$ ~/genymotion/genymotionIf you installed Genymotion in a specific directory, replace
~/genymotion/by your Genymotion installation path; or, if you installed it globally (withsudo), replace~/genymotion/by/opt/.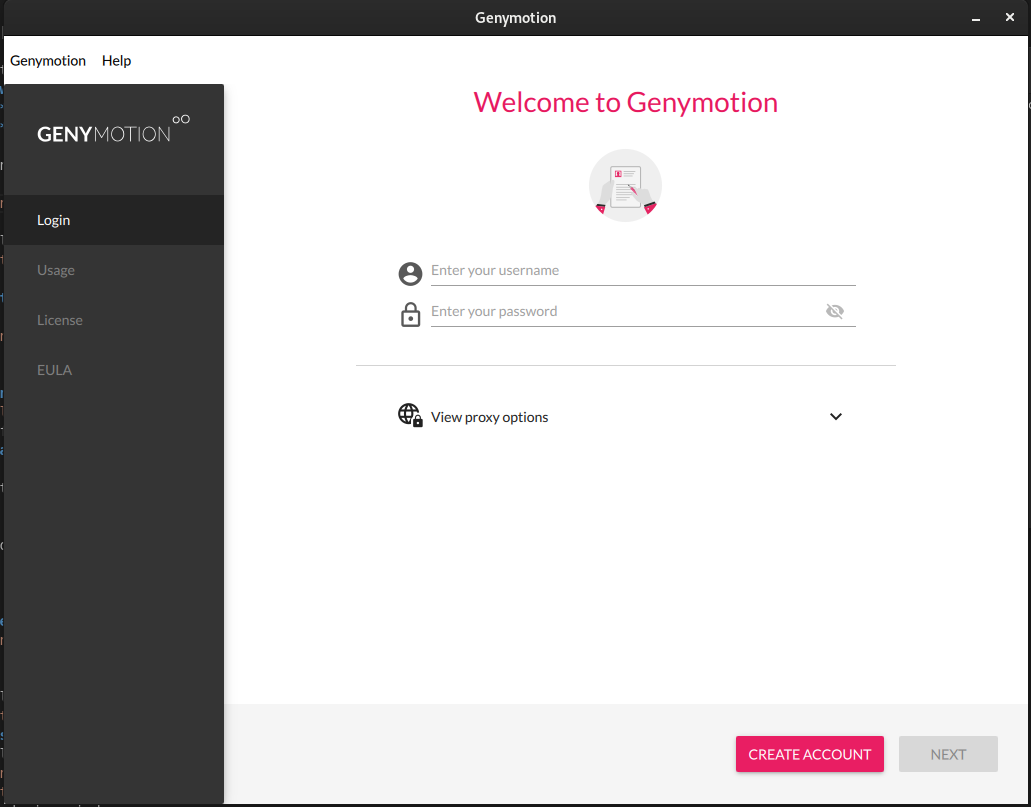
First start Window -
If you already have a Genymotion account, enter your credentials and click NEXT. Otherwise, click on CREATE ACCOUNT to create a new Genymotion account.
If your host machine network is connected to a proxy, click View proxy options and set your Proxy type, hostname, port and authentication.
-
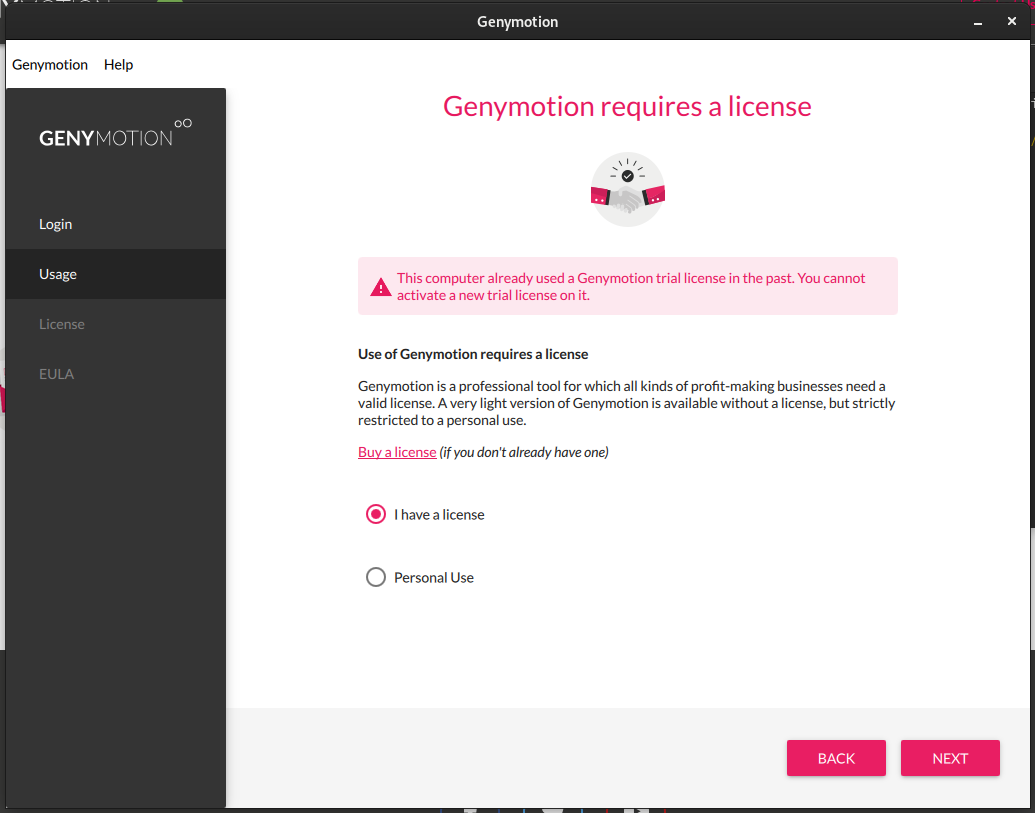
In the Usage panel, select:
- I have a license: if you wish to use Genymotion Desktop Pro with full features and technical assistance. A paying license is required.
- Personal use: if you wish to use Genymotion Desktop free edition. For Personal Use ONLY!
-
Read the Terms & Conditions carefully and check I understand and agree to the Terms & Conditions.:
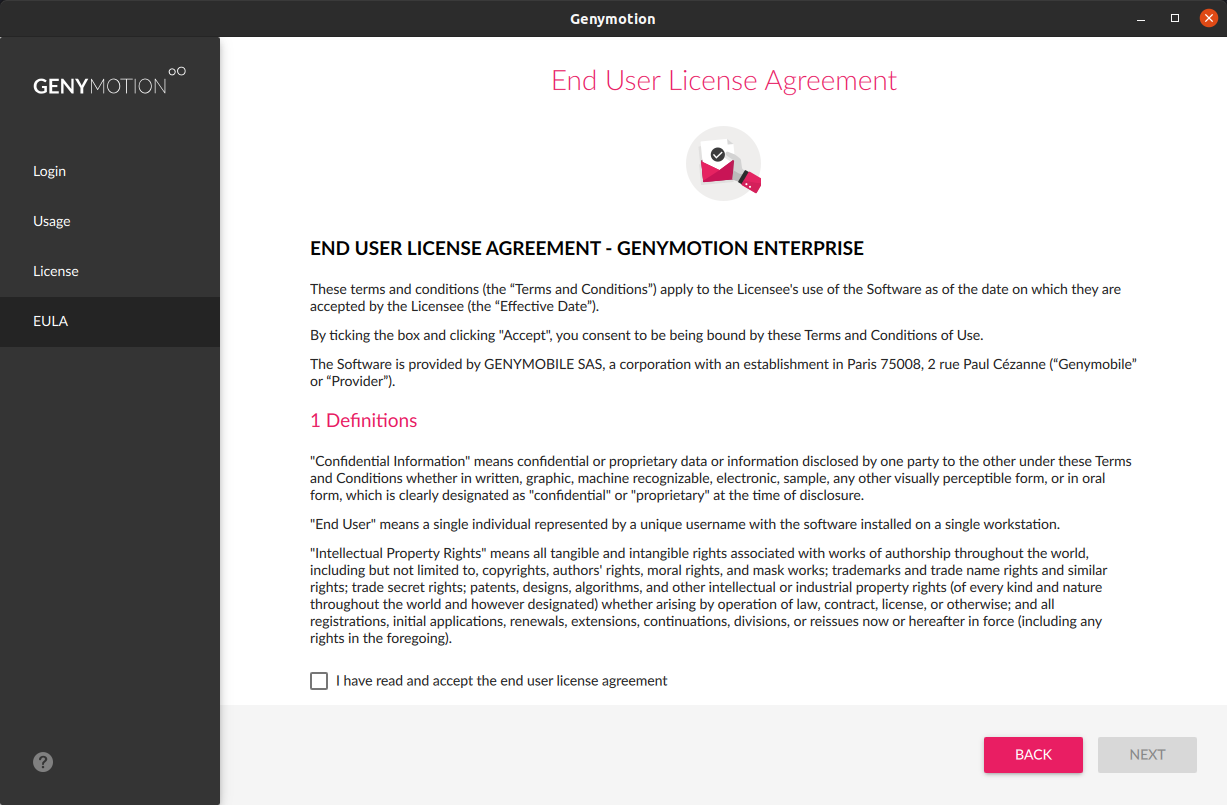
Click NEXT:
Change Hypervisor (not recommended)
From Genymotion Desktop 3.3.0 onwards, it is possible to choose between VirtualBox or QEMU hypervisor.
The default hypervisor is now QEMU on Linux and macOS, but if you upgraded from an older Genymotion Desktop version, it will be VirtualBox.
- Go to Genymotion > Settings > Hypervisor
- Select QEMU or VirtualBox from the drop-down box:
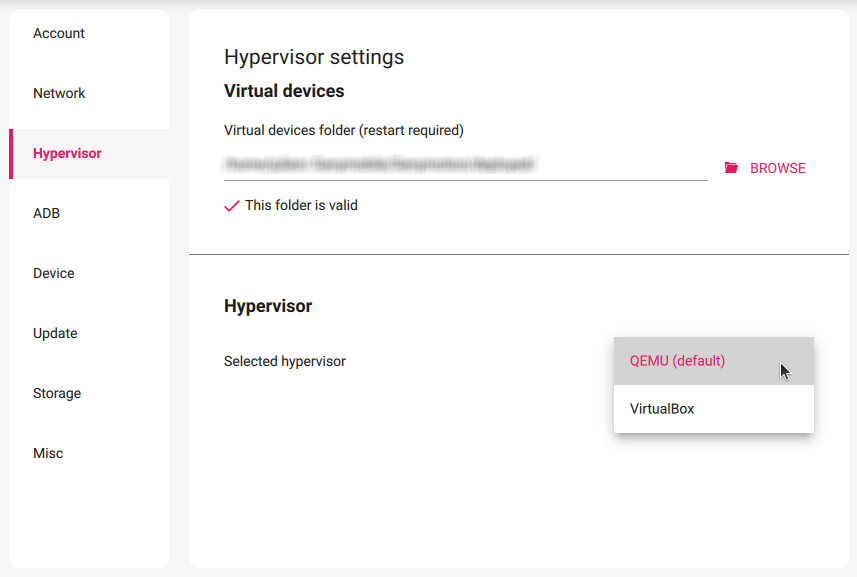
If you change from the default, you will be prompted to restart Genymotion to apply that change. For more information, please refer to Genymotion configuration.
Each created virtual device depends on the hypervisor. For example, Virtual devices created with VirtualBox will disappear from Genymotion dashboard if the hypervisor is switched to QEMU, and vice versa.
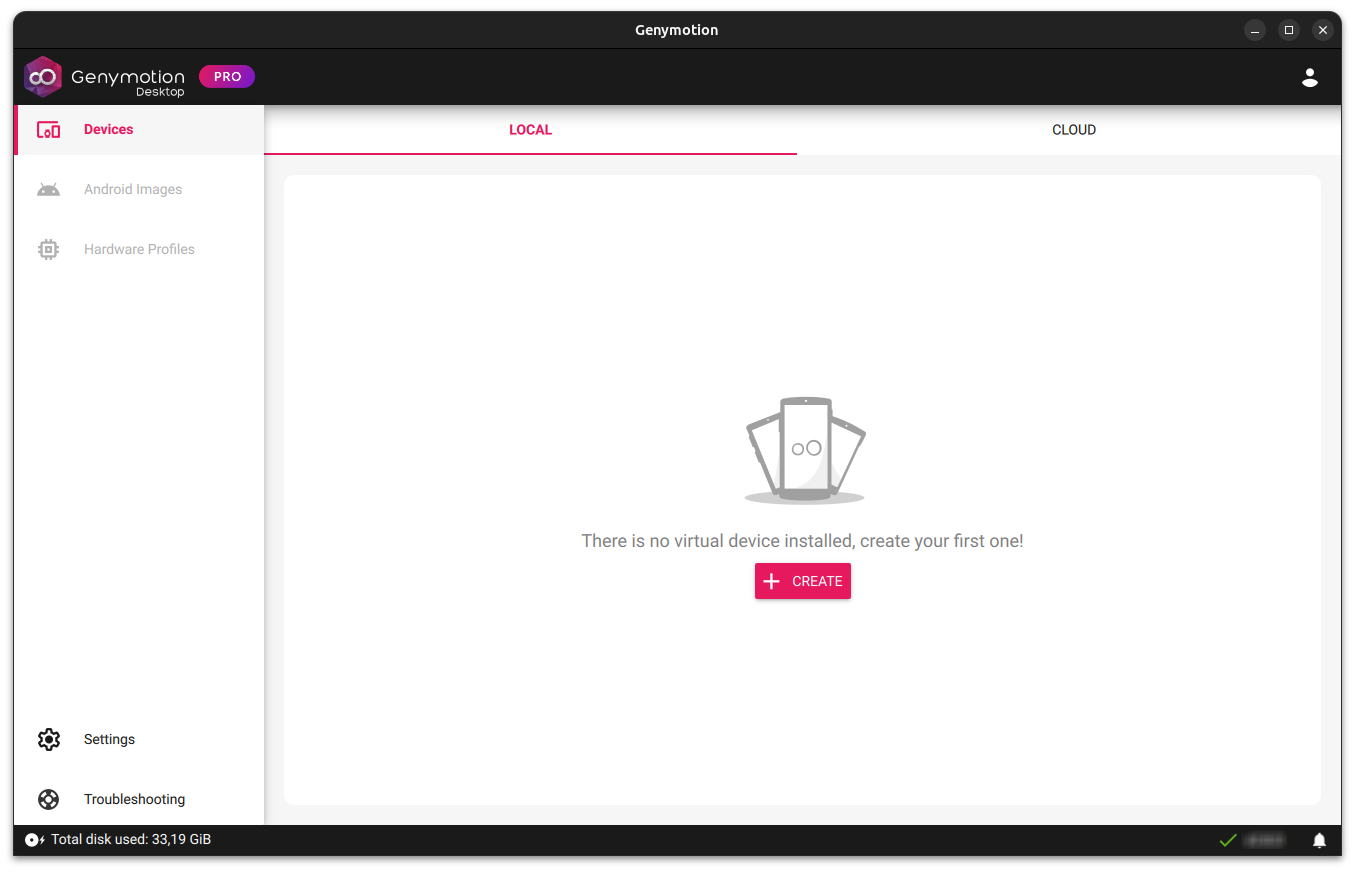
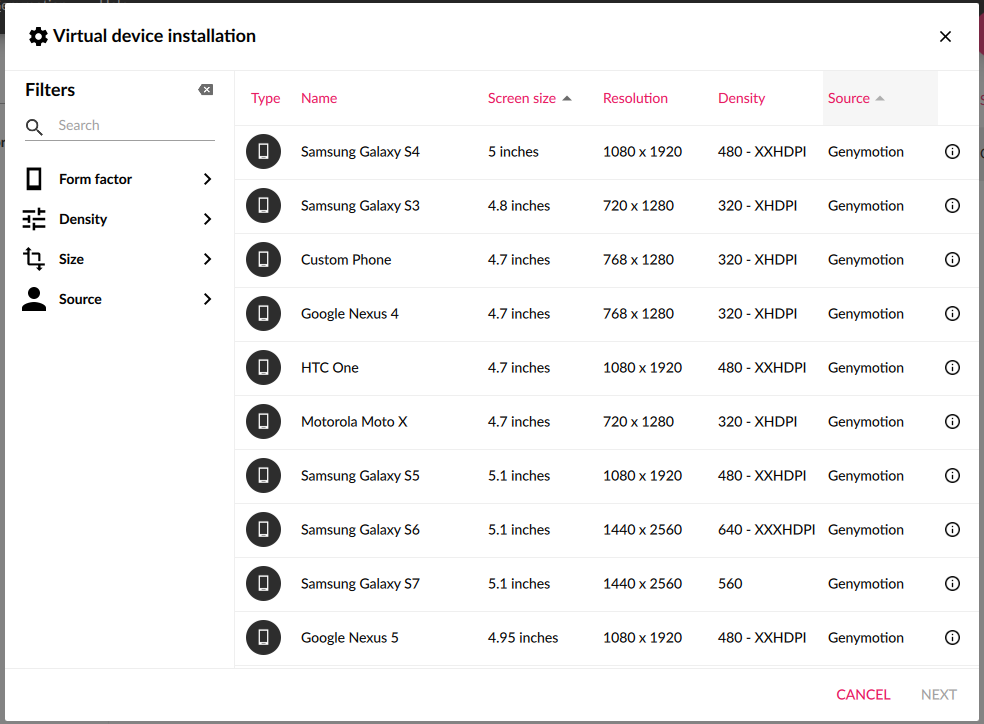
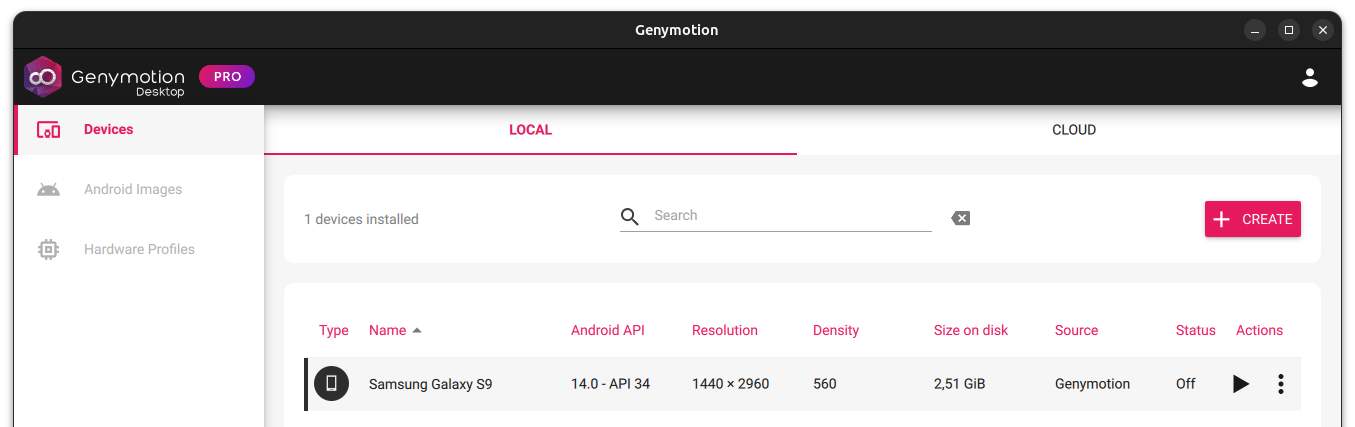
Create a new device
-
Click on CREATE and select a virtual device template from the list. You can use the search box and Filters to find a specific device profile:
-
Click on NEXT or double-click on the template of your choice. The virtual device installation wizard opens:
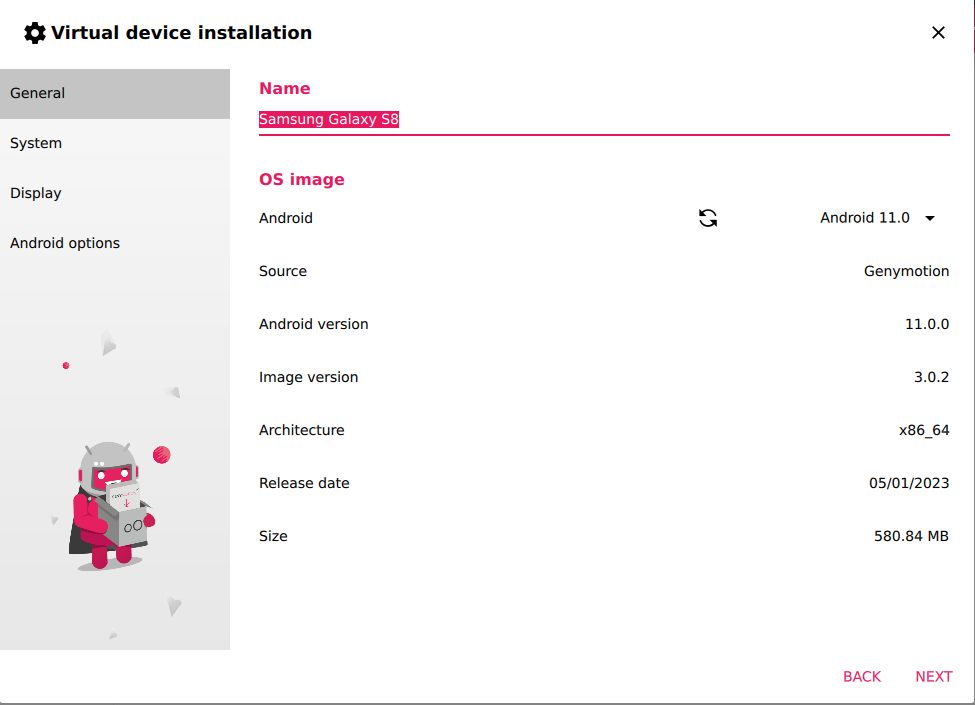
Virtual device installation Wizard -
In the GENERAL tab, you can change the name and select the Android version of the device:
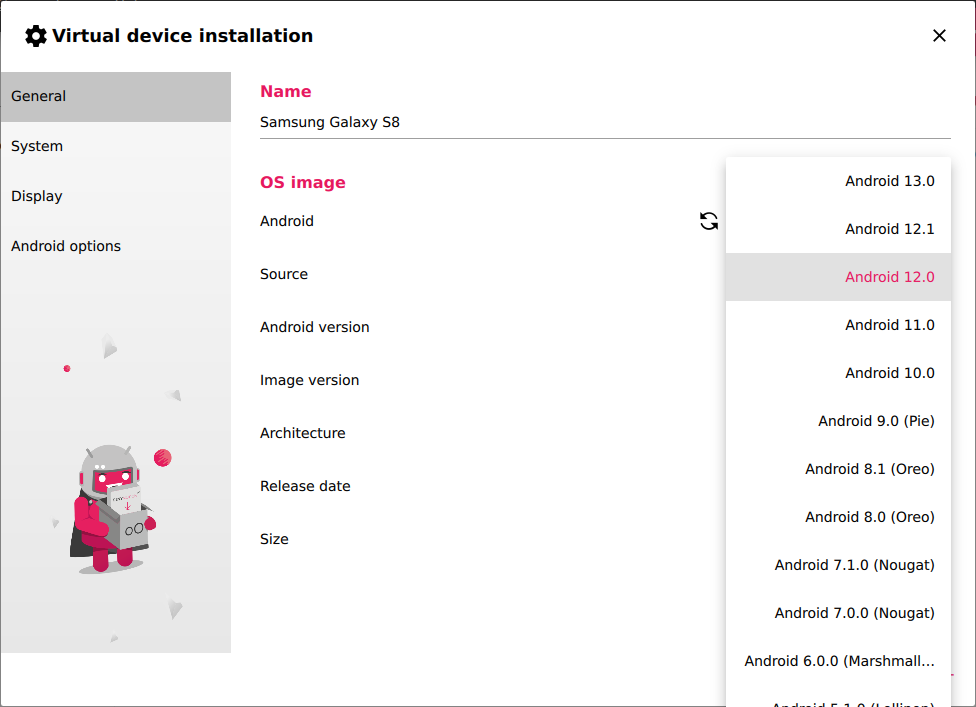
Click NEXT when done If you upgraded from a previous version, you can click to force an update of the available Android images.
If you use a non-rooted Android image, you can also enable root from here.
-
In the SYSTEM tab, you can change the number of processors, RAM and/or VM Heap size:
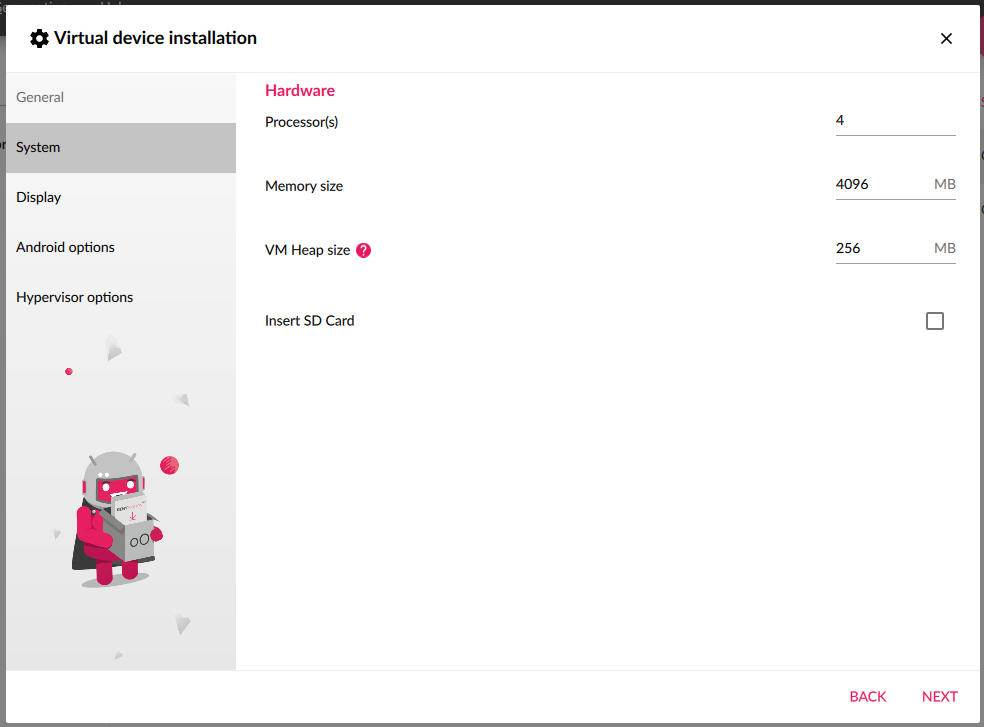
Click NEXT to proceed -
In the DISPLAY tab, you can select the resolution, the window style and the OpenGL ES maximum API version:
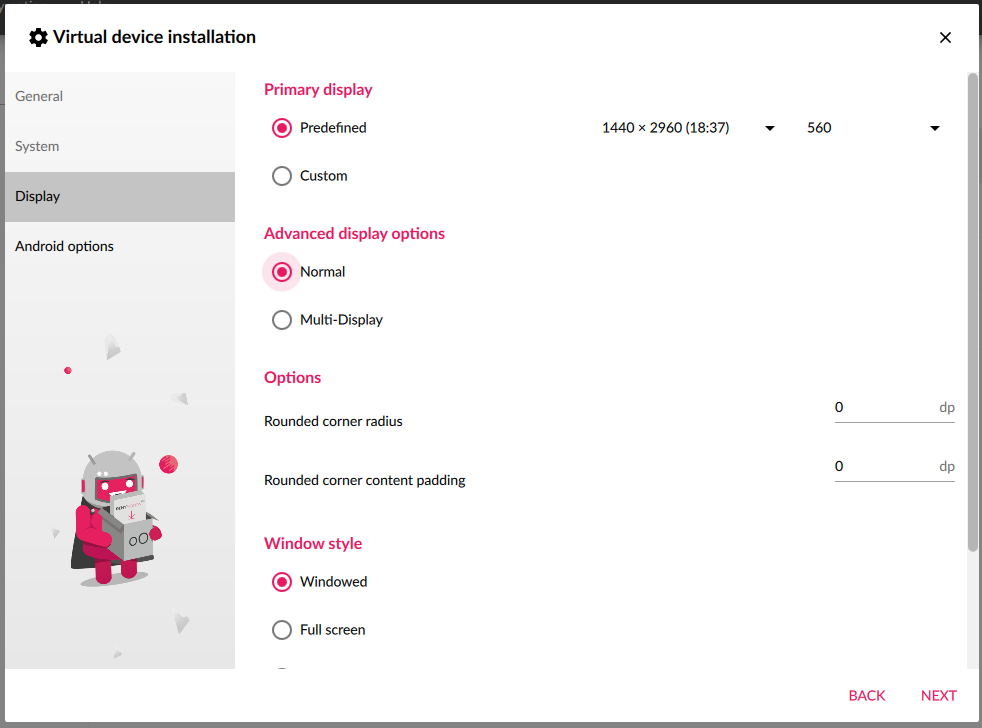
Click NEXT to proceed -
In the Android options tab, you can enable or disable the Android navigation bar (default: enabled) and the virtual keyboard (default: disabled):
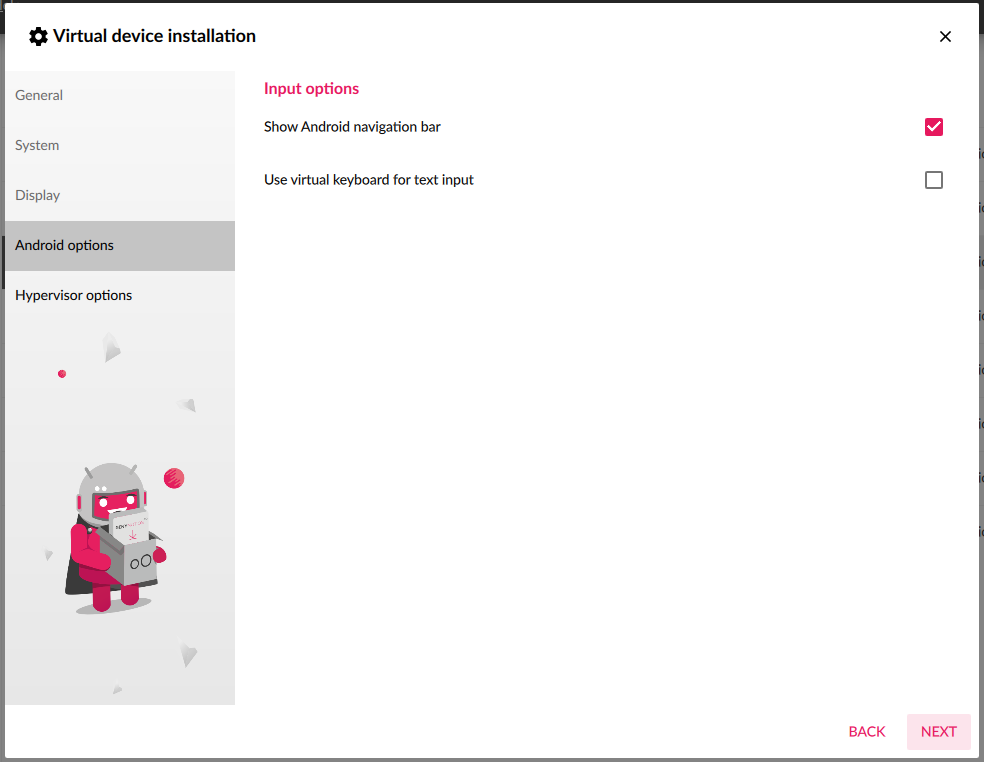
Click NEXT to proceed
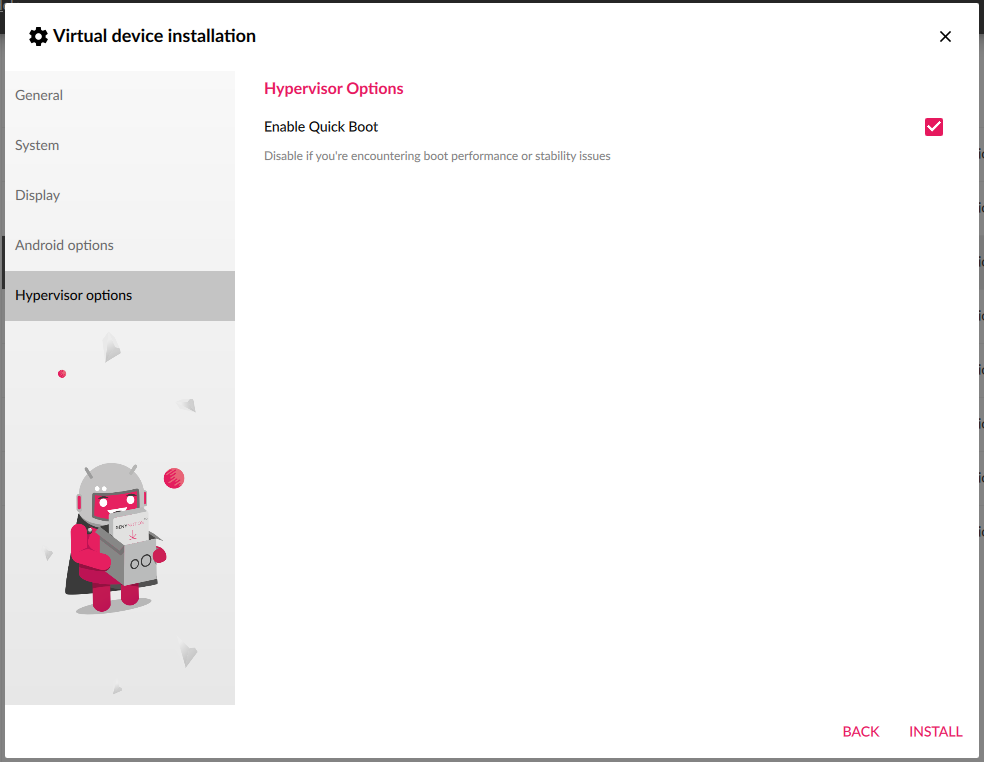
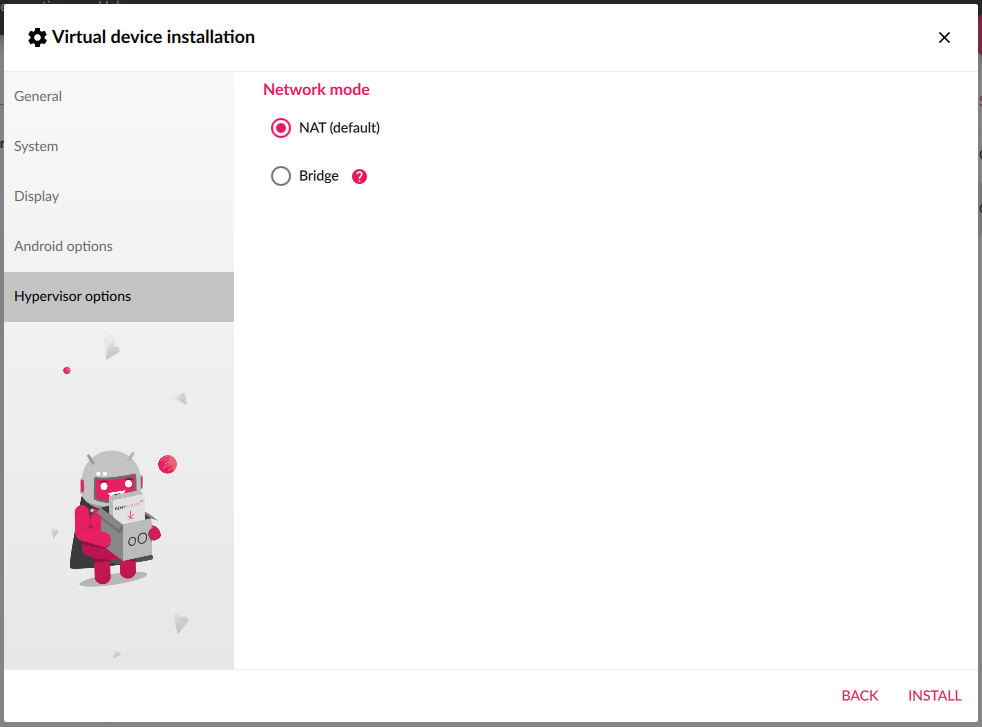
In the Hypervisor options tab, you can toggle QEMU quick boot feature:
In the Hypervisor options tab, you can set the NAT (default) or Bridge hypervisor network mode:
Your virtual device is being downloaded and will appear in the dashboard:
If the virtual device deployment fails at this point, you may be running out of free space.
Launch a device
Double click on your newly created virtual device, or click , to start it:

If you wish to change Genymotion or the device configuration, please refer to the following pages: