GCP
Available Android Images
We offer x86_64 and ARM64 images with the following Android versions:
- 13.0
- 5.1* (Lollipop)
- 6.0* (Marshmallow)
- 7.0 (Nougat)
- 8.0 (Oreo)
- 8.1 (Oreo)
- 9.0 (Pie)
- 10.0
- 11.0
- 12.0
- 12.1
*Android 5.1 and 6.0 are deprecated and only available for Genymotion Device Image v12.0 and lower.
Data encryption is only available with Android 8.0 images and above.
Network security
ADB connections are neither secured nor authenticated: it is highly recommended to use an SSH tunnel instead of opening TCP port 5555. If you still decide to open this port, we will not be able to guarantee the security of your instance - USE WITH EXTREME CAUTION!
By default, all incoming traffic from outside a network is blocked. To access the instance from outside, you need to change or add a series of firewall rules:
- From GCP dashboard, go to NETWORKING > VPC network > Firewall
- Add or edit your rules to match the Network Security Settings requirements.
Create a new instance
- Go to Google Cloud Platform marketplace .
- Select the version of Android OS for your Genymotion instance.
-
Click Launch:
You will then be redirected to the configuration page:
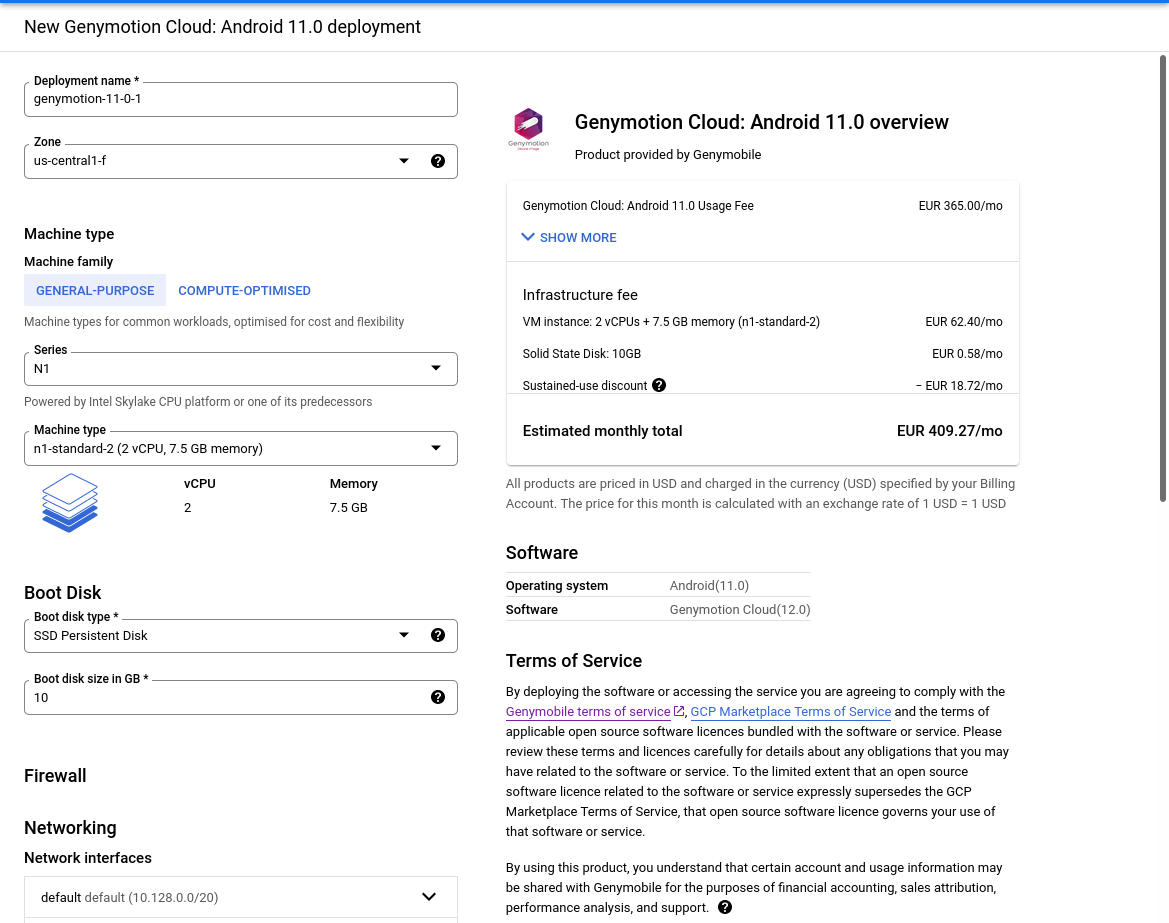
Configure the new instance
You may want or need to change a few settings before deploying the instance. Also, any incoming connection from outside the virtual network will be blocked - to connect to from the Internet, you need to set firewall tags before deploying the new instance.
General settings
Deployment name-
The name of the virtual device. You can change it to your liking.
Zone-
Select your geographical area. The zone determines what computing resources are available and where your data is stored and used.
Machine type-
Select the machine type from the drop-down list or by clicking Customize.
Boot Disk-
Select the boot disk type and Storage space.
An SSD persistent disk is better for random IOPS or streaming throughput with low latency. Persistent disk performance is tied to the size of the persistent disk volume. You are charged for the actual amount of provisioned disk space.
Firewall - Networking
In the Firewall/Networking section, you can change the following settings:
Network interfaces
Click on the default network interface to change the Network, Subnetwork and External IP to be used by the instance. This assigns the instance an IPv4 address from the subnetwork range. Instances in different subnetworks can communicate with each other using their internal IPs as long as they belong to the same network.
The External IP allows the instance to communicate outside of the virtual network. Selecting "None" will result in the instance having no external Internet access.
Firewall
Add firewall tags (rules) to allow specific network traffic from the Internet. For recommended firewall rules, please refer to Requirements.
IP forwarding
Enable or Disable IP forwarding. This allows the instance to help route packets.
When done, click Deploy.
Access an instance with a web browser
- Start your instance
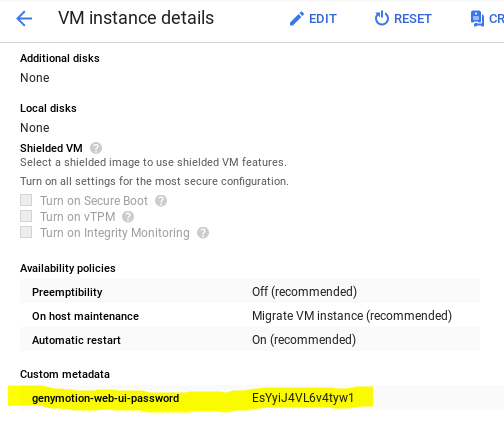
-
Click on the instance name and copy the temporary Web UI password:
-
Get back to the main VM Instances page and click on the instance External IP:

-
You will have the following warning because our certificate is auto-signed:
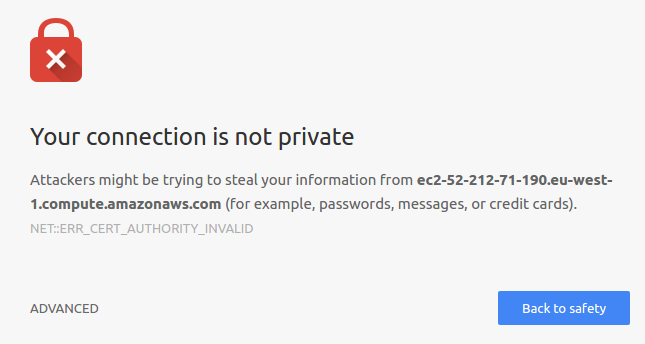
To remove this warning permanently, you must install a trusted certificate.
Click
Advancedand proceed to the connection. -
Enter username
genymotionand paste the Web UI password.To change the default username and password, or disable authentication, please refer to Change authentication.
To stop your virtual device, close the tab where it is running and click on the three vertical dots at the end of the instance line and select Stop.